
How to use Amazon EC2 as GitHub self-hosted runner
Setting up a GitHub self-hosted runner on AWS EC2 involves several steps, from creating an EC2 instance to configuring it as a GitHub Actions runner.
First, we need to create Amazon EC2 instance.
Here is a sample instance. You can configure it depending on your needs.

After creating instance, connect to the instance.


Now, enter these commands
- sudo apt update -y
- sudo apt install git -y
After installing git, go to the GitHub runners and click “New self-hosted runner”

Choose Linux x64, this can be different upon your instance OS and architecture.

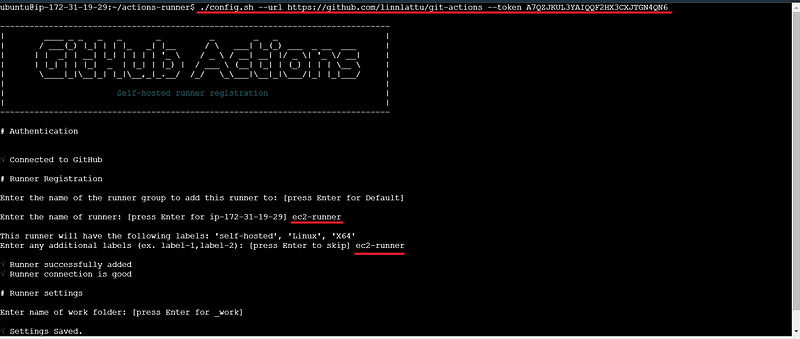
You’ll see command lines to download and configure the runner in instance.
You just need to copy and run the command lines in the instance.


Now, let’s check the GitHub runner. We got the runner but its status is offline.

Go to the instance and run these commands
- sudo ./svc.sh install
- sudo ./svc.sh start

Check again the runner.

We got our self-hosted runner.
Now, I’ll continue to show how to use that runner in the GitHub Actions yml. It’s just that you need to type the runner labels in runs-on to use the self-hosted runner. Here is an example

Now, I’ll continue to show how to remove the runner.
Before we remove the runner, we need to stop and uninstall the runner service in the instance.
Run these commands
- sudo ./svc.sh stop
- sudo ./svc.sh uninstall


Now, go to the GitHub runner option and click “remove runner”
You just need to copy and run the remove command.


Check in the GitHub runner. It’ll be gone.

This guideline will create a self-hosted GitHub Actions runner on an AWS EC2 instance, allowing you to run CI/CD jobs directly on your own infrastructure. I hope you enjoy!